
Minishift is a tool that helps you run OKD locally by launching a single-node OKD cluster inside a virtual machine. With Minishift you can try out OKD or develop with it, day-to-day, on your local machine.
– okd.io
Minishift is the OpenShift equivalent of Minikube. Where Minikube lets you quickly setup a Kubernetes cluster, Minishift does the same for OKD [OpenShift]. It is by no means made for production, but is excellent for local testing and development.
Getting up and running is pretty painless and has few requirements. Mainly, the need for VirtualBox on all platforms as well as a platform specific hypervisor.
If you are using Docker Desktop on Windows or macOS, you should already be using the required hypervisor. macOS is a very simple install using homebrew.
$ brew install minishift
Updating Homebrew...
==> Auto-updated Homebrew!
Updated 2 taps (homebrew/core and homebrew/cask).
==> New Formulae
firefoxpwa
==> Updated Formulae
Updated 123 formulae.
==> New Casks
blackhole-64ch
==> Updated Casks
Updated 78 casks.

==> Downloading https://github.com/minishift/minishift/releases/download/v1.34.3/minishift-1.34.3-darwin-amd64.tgz
==> Downloading from https://github-releases.githubusercontent.com/62728051/7083c680-0050-11eb-88ee-a20c6e794021?X-Amz-Algorithm=AWS4-HMAC-SHA256&X-Amz-Credential=AKIAIWNJYAX4CSVEH53A%2F20210810%2Fus-east-1%2Fs3%2Faws4_request
######################################################################## 100.0%
==> Installing Cask minishift
==> Linking Binary 'minishift' to '/usr/local/bin/minishift'
To start Minishift we need to pass it the vm-driver for VirtualBox. This can be done on each startup or set permanently to avoid adding an extra flag to the start command. This command will set it permanently for us.
$ minishift config set vm-driver virtualboxYou can now start Minishift with the minishift start command. If you run into the below error while running on mac try reinstalling with:
$ brew reinstall minishift --no-quarantine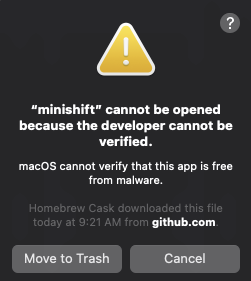
This initial startup can take several minutes while it pulls down the ISO and launches/configures the VM/networking, etc. When this has completed you should see a similar message to the below.
Login to server ...
Creating initial project "myproject" ...
Server Information ...
OpenShift server started.

The server is accessible via web console at:
    https://192.168.99.100:8443/console

You are logged in as:
    User:     developer
    Password: <any value>

To login as administrator:
    oc login -u system:admin
You will also notice a newly created, minishift, running in VirtualBox.
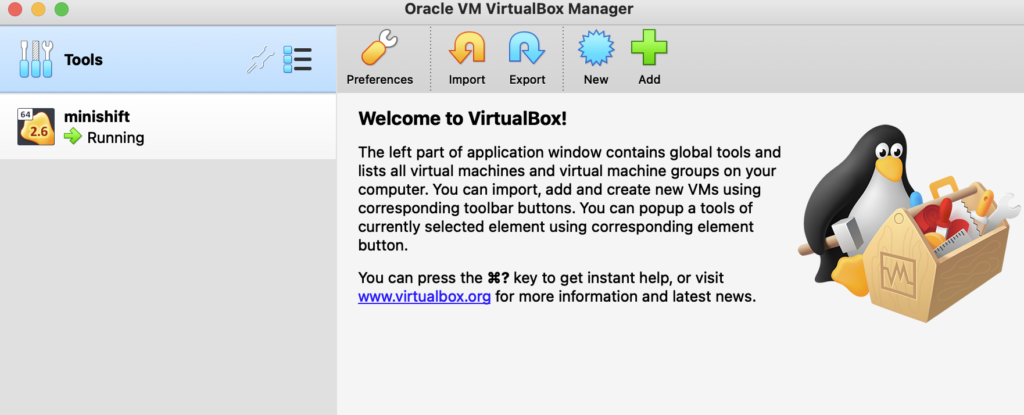
Go ahead launch the URL from above in your browser to view the web console and confirm you are able to login using the credentials provided.
We now have a running instance of Minishift to break…or test with…my experience is break. There are several ways to interact with the cluster, the web console, the oc CLI tool and the RESTful API. Our primary focus here will be the web console and oc CLI for ease of use.
DON’T FORGET TO ADD THE OC CLI TO YOUR PATH! Yes, I have overlooked this on more than one install and stare blankly at my screen as oc: command not found ruins my morning. We need to add the CLI to our path so we don’t have to explicitly run it from the folder it resides in.
$ eval $(minishift oc-env)If you run oc version a response with the version should now be returned. We can test this further by logging into the CLI with the credentials provided during our setup earlier. If you attempt to run run commands before logging in you will notice you are restricted to certain entities. For example
$ oc get pods --all-namespaces
Error from server (Forbidden): pods is forbidden: User "developer" cannot list pods at the cluster scope: no RBAC policy matched
Login with:
$ oc login -u system:adminOnce logged in you will be presented with a list of resources you have access to.
Logged into "https://192.168.99.100:8443" as "system:admin" using existing credentials.

You have access to the following projects and can switch between them with 'oc project <projectname>':

    default
    kube-dns
    kube-proxy
    kube-public
    kube-system
  * myproject
    openshift
    openshift-apiserver
    openshift-controller-manager
    openshift-core-operators
    openshift-infra
    openshift-node
    openshift-service-cert-signer
    openshift-web-console

Using project "myproject".
Running the same get pods command again now that we are logged in will show about 16 or so pods including Kubernetes system pods, docker registry and OpenShift add-ons like the webconsole.
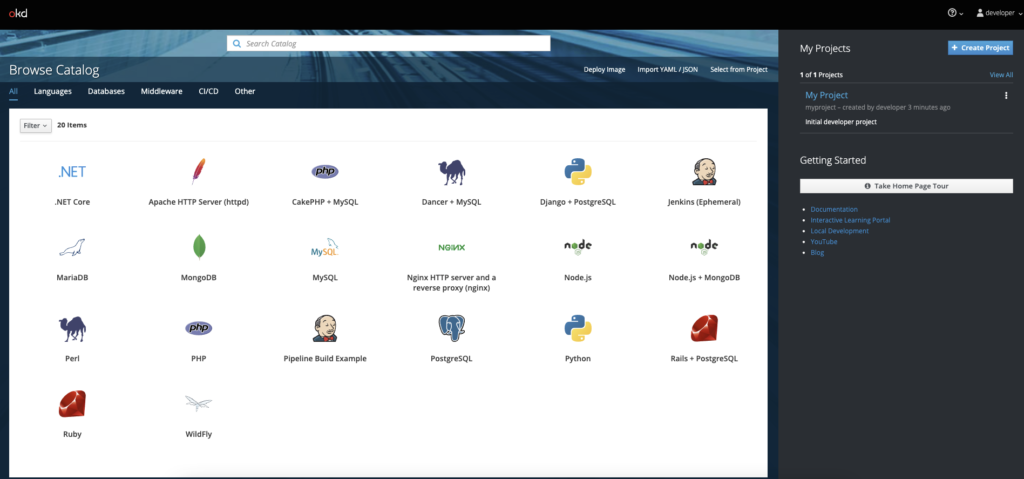
Time to get down to work, we now have a confirmed running (hopefully) installation of Minishift so lets get some things created. First, we will create a new project. A default “MyProject” is created on install, but we will opt for our own to demo.
A Project in OpenShift is built on the concept of namespaces in Kubernetes. It is used to group and isolate resources with no need to manage an underlying namespace directly. To get started, log back in to your webconsole and click “Create Project” in the top right corner. Only the name is required.

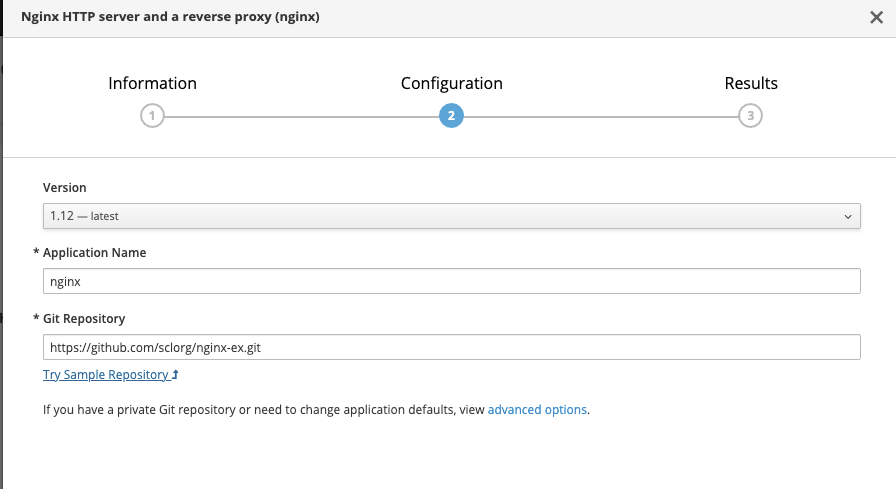
Once inside the project, click “Add to Project? -> “Browse Catalog” in the top right-hand corner.
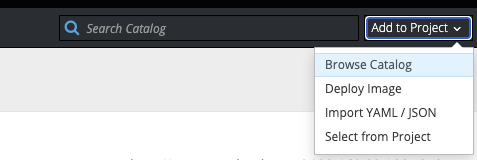
To keep with our theme of “simple”, click on the nginx application. Give the application a name and for “Git Repository” click the “Try Sample Repository” link to have this auto filled.
Navigating back to the Dashboard will now show the deployed project. You can poke around a bit more under “Applications” to review the deployments, pods, etc. You will also notice a route URL has been setup for external traffic. This uses a service from nip.io that allows you to create custom hostname and IP address mappings.
NOTE: NIP.IO WILL NOT WORK WITH DNS REBINDING ENABLED. IF YOU ARE HAVING ISSUES RESOLVING THE URL MAKE SURE THIS IS NOT ENABLED ON YOUR ROUTER.
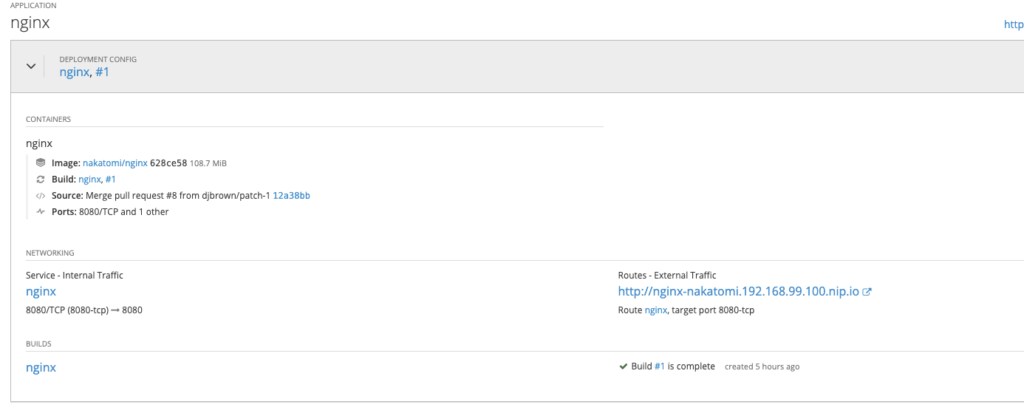
Providing DNS binding is not enabled, you should now be able to access the external traffic URL
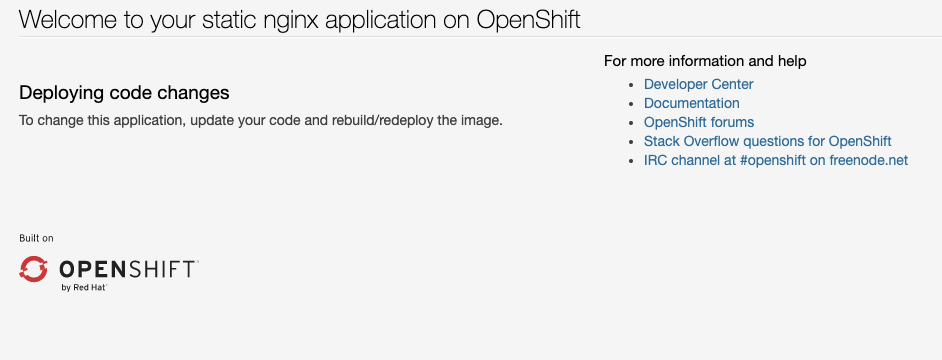
We will explore some more of the OpenShift architecture in later articles. For now, pat yourself on the back and tell everyone you have deployed an app on OpenShift…but not too loudly, otherwise you end up becoming “The OpenShift person”.